Cheesy Garlic Chicken Wraps are a delightful fusion of flavors that never fail to impress. As someone who loves experimenting in the kitchen, I can confidently say that these wraps are a crowd-pleaser, perfect for any occasion. The combination of tender chicken, rich cheese, and aromatic garlic creates a mouthwatering experience that is both satisfying and comforting.
Originating from the need for quick yet delicious meals, wraps have become a staple in many households around the world. They offer a convenient way to enjoy a variety of ingredients all in one bite. People adore Cheesy Garlic Chicken Wraps not only for their incredible taste and creamy texture but also for their versatility. Whether you’re hosting a casual get-together or simply looking for a weeknight dinner solution, these wraps are sure to become a favorite in your culinary repertoire. Join me as we dive into this scrumptious recipe that will elevate your meal game!
Ingredients:
- 4 boneless, skinless chicken breasts
- 1 cup shredded mozzarella cheese
- 1 cup shredded cheddar cheese
- 4 large flour tortillas
- 4 tablespoons olive oil
- 4 cloves garlic, minced
- 1 teaspoon Italian seasoning
- Salt and pepper to taste
- 1 cup fresh spinach leaves
- 1 cup diced tomatoes
- 1/2 cup ranch dressing (optional)
- Fresh parsley for garnish (optional)
Preparing the Chicken
1. **Preheat the Oven**: Start by preheating your oven to 375°F (190°C). This will ensure that your chicken cooks evenly and gets that lovely golden color. 2. **Prepare the Chicken Breasts**: Rinse the chicken breasts under cold water and pat them dry with paper towels. This step is crucial as it helps the seasoning stick better. 3. **Season the Chicken**: In a small bowl, mix together the minced garlic, Italian seasoning, salt, and pepper. Rub this mixture all over the chicken breasts, making sure to coat them evenly. The garlic will infuse the chicken with flavor as it cooks. 4. **Sear the Chicken**: In a large skillet, heat 2 tablespoons of olive oil over medium-high heat. Once the oil is hot, add the seasoned chicken breasts. Sear them for about 5-7 minutes on each side until they are golden brown. This step locks in the juices and adds a nice crust. 5. **Bake the Chicken**: Transfer the seared chicken breasts to a baking dish and place them in the preheated oven. Bake for 20-25 minutes or until the internal temperature reaches 165°F (75°C). Once done, remove them from the oven and let them rest for about 5 minutes before slicing.Preparing the Cheese Mixture
6. **Mix the Cheeses**: While the chicken is baking, combine the shredded mozzarella and cheddar cheese in a bowl. This cheesy blend will be the star of our wraps, so make sure to mix them well. 7. **Prepare the Spinach and Tomatoes**: Rinse the fresh spinach leaves under cold water and pat them dry. Dice the tomatoes into small pieces. These fresh ingredients will add a nice crunch and freshness to our wraps.Assembling the Wraps
8. **Slice the Chicken**: Once the chicken has rested, slice it into thin strips. This will make it easier to distribute evenly in the wraps. 9. **Warm the Tortillas**: To make the tortillas more pliable, warm them in a dry skillet over medium heat for about 30 seconds on each side. This step prevents them from tearing when you roll them up. 10. **Layer the Ingredients**: Lay a tortilla flat on a clean surface. Start by adding a generous amount of the cheese mixture in the center of the tortilla. Then, layer on the sliced chicken, followed by a handful of fresh spinach and diced tomatoes. If you like a bit of extra flavor, drizzle some ranch dressing over the top. 11. **Roll the Wrap**: Fold the sides of the tortilla inwards, then roll it up tightly from the bottom to the top. Make sure to tuck in the sides as you roll to keep everything secure. Repeat this process for the remaining tortillas.Cooking the Wraps
12. **Heat the Skillet**: In the same skillet you used for the chicken, add the remaining 2 tablespoons of olive oil and heat over medium heat. 13. **Cook the Wraps**: Place the assembled wraps seam-side down in the skillet. Cook for about 3-4 minutes on each side, or until the tortillas are golden brown and crispy. The cheese inside will melt beautifully, creating a gooey, cheesy filling. 14. **Check for Doneness**: After cooking, check the wraps to ensure they are heated through and the cheese is melted. If you want them extra crispy, you can cook them for an additional minute on each side.Serving the Cheesy Garlic Chicken Wraps
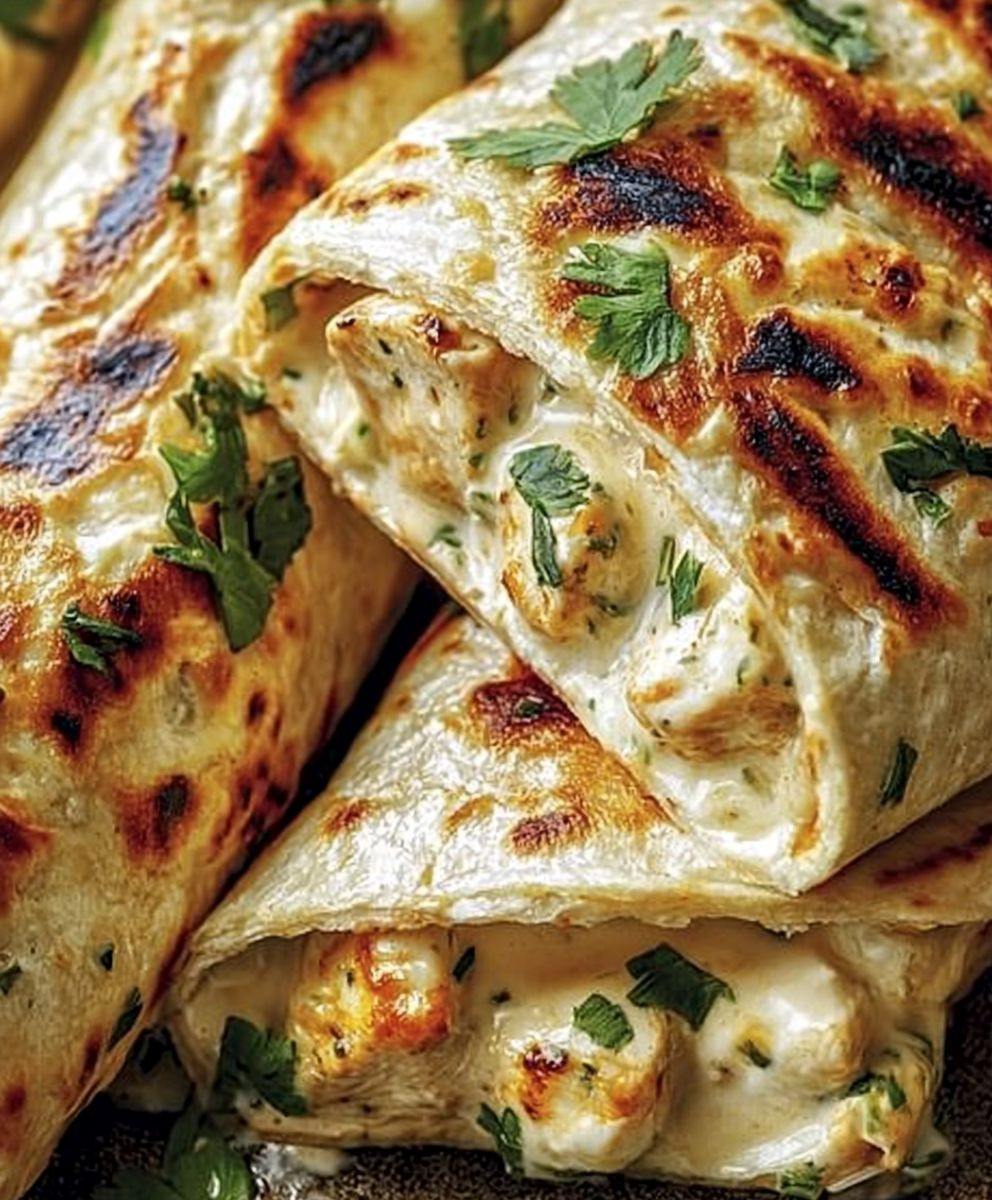
15. **Slice and Serve**: Once the wraps are cooked to perfection, remove them from the skillet and let them cool for a minute. Then, slice them in half diagonally for a beautiful presentation. 16. **Garnish**: If you like, sprinkle some fresh parsley on top for a pop of color and added flavor. You can also serve them with extra ranch dressing on the side for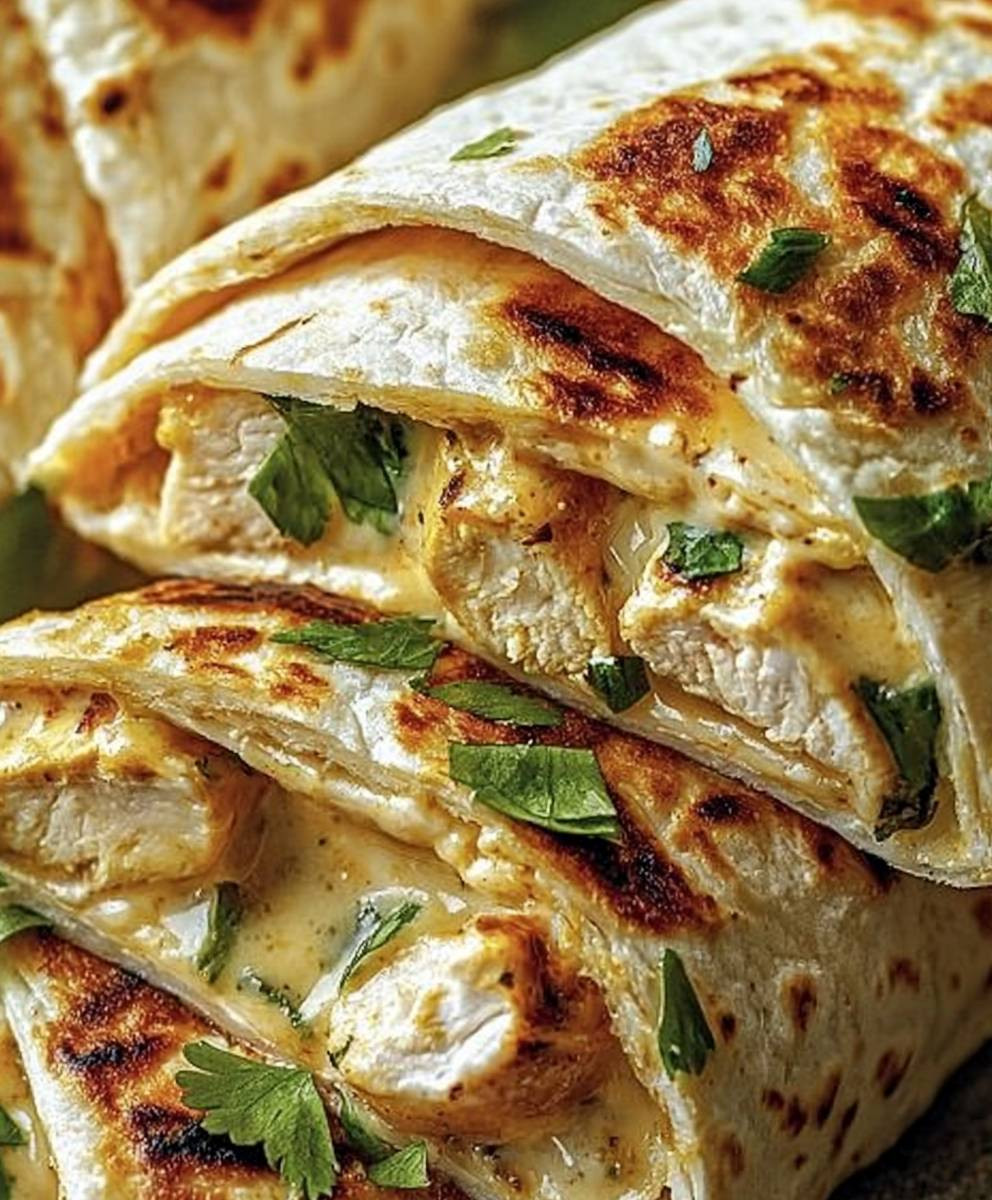
Conclusion:
In summary, these Cheesy Garlic Chicken Wraps are an absolute must-try for anyone looking to elevate their weeknight dinners or impress guests at a casual gathering. The combination of tender chicken, gooey cheese, and the aromatic kick of garlic creates a flavor explosion that is simply irresistible. Plus, they are incredibly versatile! You can easily swap out the chicken for grilled veggies for a vegetarian option, or add your favorite hot sauce for an extra kick. I highly recommend serving these wraps with a side of crispy sweet potato fries or a fresh garden salad to balance out the richness. You could even experiment with different types of cheese—think pepper jack for a spicy twist or feta for a Mediterranean flair. I encourage you to give this recipe a try and make it your own! Once you’ve whipped up these Cheesy Garlic Chicken Wraps, I’d love to hear about your experience. Share your thoughts, any variations you tried, or even a photo of your delicious creation. Let’s spread the love for this delightful dish together! Happy cooking! Print
Cheesy Garlic Chicken Wraps: A Deliciously Easy Recipe for Dinner
- Total Time: 25 minutes
- Yield: 4 servings 1x
Description
A creamy and comforting spaghetti carbonara featuring crispy pancetta, perfectly cooked pasta, and a rich egg and cheese sauce, perfect for a satisfying meal.
Ingredients
- 400g spaghetti
- 150g pancetta or guanciale, diced
- 3 large eggs
- 100g grated Parmesan cheese
- 2 cloves garlic, minced
- Salt, to taste
- Freshly ground black pepper, to taste
- Fresh parsley, chopped (for garnish)
Instructions
“`html
- In a large pot of boiling salted water, cook the spaghetti according to package instructions until al dente. Reserve 1 cup of pasta water, then drain the pasta.
- In a large skillet over medium heat, add the diced pancetta. Cook until crispy, about 5-7 minutes. Add the minced garlic and cook for an additional minute until fragrant.
- In a bowl, whisk together the eggs and grated Parmesan cheese until well combined. Season with salt and freshly ground black pepper.
- Add the hot spaghetti to the skillet with the pancetta and garlic. Remove from heat. Quickly pour the egg and cheese mixture over the pasta, tossing to combine. The heat from the pasta will cook the eggs and create a creamy sauce. If the sauce is too thick, add reserved pasta water a little at a time until desired consistency is reached.
- Plate the spaghetti carbonara and garnish with chopped parsley and additional Parmesan cheese if desired. Enjoy!
“`
Notes
- Make sure to work quickly when combining the pasta with the egg mixture to prevent the eggs from scrambling.
- You can substitute pancetta with bacon if needed, but the flavor will be slightly different.
- For a vegetarian version, you can omit the meat and add sautéed mushrooms for a different texture.
- Prep Time: 10 minutes
- Cook Time: 15 minutes




Leave a Comment