

Chocolate Peppermint Bread: Just the name conjures up images of cozy winter evenings, doesn’t it? Imagine slicing into a loaf of moist, decadent bread, the rich chocolate aroma mingling with the invigorating scent of peppermint. This isn’t just bread; it’s a holiday experience baked into every slice!
While the exact origins of combining chocolate and peppermint are somewhat murky, the pairing has become synonymous with festive celebrations, particularly around Christmas. Some believe the combination gained popularity in the early 20th century with the rise of commercially produced peppermint candies and chocolate bars, leading innovative bakers to experiment with incorporating these flavors into their creations. Regardless of its precise history, chocolate peppermint bread has undoubtedly earned its place as a beloved seasonal treat.
What makes this bread so irresistible? It’s the perfect balance of flavors and textures. The deep, comforting taste of chocolate is beautifully complemented by the cool, refreshing zing of peppermint. The bread itself is often incredibly moist and tender, making each bite a delightful experience. Plus, it’s surprisingly easy to make! Whether you’re looking for a show-stopping centerpiece for your holiday brunch or a thoughtful homemade gift, this chocolate peppermint bread is guaranteed to impress. So, let’s get baking and fill your kitchen with the joyous aroma of the season!

Ingredients:
- 2 ½ cups all-purpose flour
- ¾ cup unsweetened cocoa powder
- 1 ½ teaspoons baking soda
- 1 teaspoon baking powder
- ½ teaspoon salt
- 1 cup granulated sugar
- ½ cup packed light brown sugar
- 1 cup buttermilk
- ½ cup vegetable oil
- 2 large eggs
- 2 teaspoons vanilla extract
- 1 cup boiling water
- 1 cup semi-sweet chocolate chips
- ½ cup crushed peppermint candies, plus more for topping
- 1 teaspoon peppermint extract
Preparing the Chocolate Peppermint Bread Batter
Okay, let’s get started! This Chocolate Peppermint Bread is seriously amazing, and I promise it’s easier to make than it looks. First things first, we need to get all our dry ingredients combined. Trust me, this step is important for even distribution and a perfect rise!
-
Combine Dry Ingredients: In a large bowl, whisk together the flour, cocoa powder, baking soda, baking powder, and salt. Make sure you whisk it really well to get rid of any lumps. Nobody wants a lumpy bread!
-
Combine Sugars: In a separate, slightly smaller bowl, whisk together the granulated sugar and the light brown sugar. Breaking up any clumps in the brown sugar is key to a smooth batter.
-
Combine Wet Ingredients: Now, in another bowl (yes, we’re using a few bowls, but it’s worth it!), whisk together the buttermilk, vegetable oil, eggs, vanilla extract, and peppermint extract. Make sure everything is well combined. The peppermint extract is what really gives this bread that festive kick!
-
Combine Wet and Dry Ingredients: Gradually add the wet ingredients to the dry ingredients, mixing on low speed with an electric mixer (or by hand if you’re feeling ambitious!). Mix until just combined. Be careful not to overmix! Overmixing can lead to a tough bread, and we definitely don’t want that.
-
Add Boiling Water: This is where things get a little different. Slowly pour in the boiling water while mixing on low speed. The batter will be very thin – don’t worry, that’s exactly what we want! The hot water helps to bloom the cocoa powder and creates a super moist bread.
-
Fold in Chocolate Chips and Peppermint Candies: Gently fold in the chocolate chips and crushed peppermint candies. Make sure they’re evenly distributed throughout the batter. I like to save a few chocolate chips and peppermint candies to sprinkle on top before baking – it makes the bread look extra pretty!
Baking the Chocolate Peppermint Bread
Alright, the batter is ready, and now it’s time to bake! This is the part where your kitchen starts to smell absolutely divine. Get ready for some serious holiday cheer!
-
Prepare the Pan: Preheat your oven to 350°F (175°C). Grease and flour a 9×5 inch loaf pan. You can also line the pan with parchment paper, leaving an overhang on the sides. This makes it super easy to lift the bread out of the pan once it’s baked. Trust me, it’s a lifesaver!
-
Pour Batter into Pan: Pour the batter into the prepared loaf pan, spreading it evenly. If you saved some chocolate chips and peppermint candies, sprinkle them on top now.
-
Bake: Bake for 55-65 minutes, or until a wooden skewer inserted into the center comes out clean or with a few moist crumbs. Keep an eye on it! Every oven is different, so start checking for doneness around 55 minutes.
-
Cool in Pan: Let the bread cool in the pan for 10-15 minutes before transferring it to a wire rack to cool completely. This prevents the bread from sticking to the pan and allows it to cool evenly.
Optional: Peppermint Glaze
While the bread is delicious on its own, a simple peppermint glaze takes it to the next level! It adds a touch of sweetness and extra peppermint flavor that’s just irresistible.
Ingredients for Peppermint Glaze:
- 1 cup powdered sugar
- 2-3 tablespoons milk
- ¼ teaspoon peppermint extract
- Pinch of salt
Instructions for Peppermint Glaze:
-
Combine Ingredients: In a small bowl, whisk together the powdered sugar, milk, peppermint extract, and salt until smooth. Start with 2 tablespoons of milk and add more as needed to reach your desired consistency. You want it to be thick enough to coat the bread but thin enough to drizzle.
-
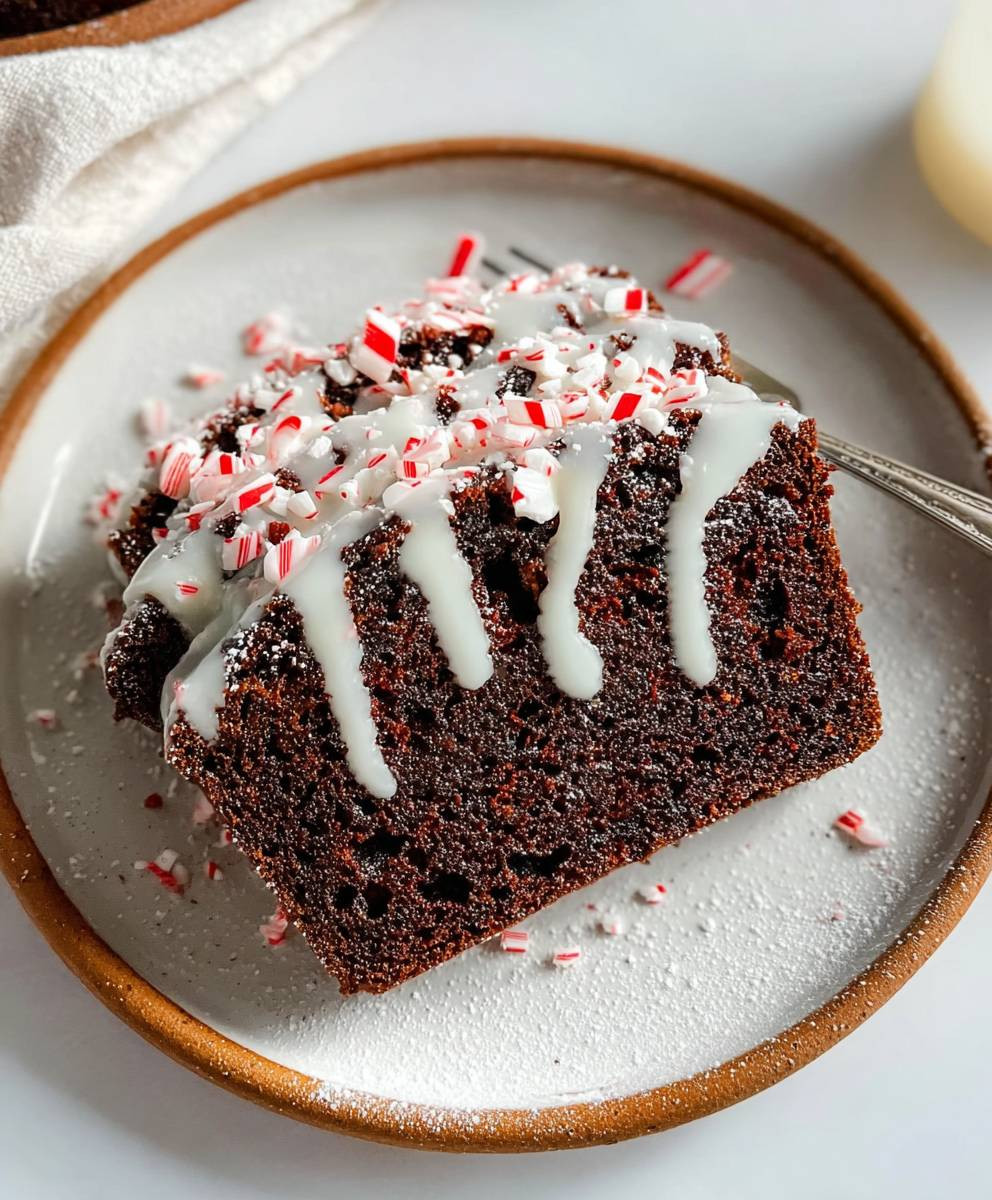
Drizzle Glaze: Once the bread is completely cool, drizzle the glaze over the top. You can use a spoon or a piping bag for a more precise application.
-
Add Toppings (Optional): While the glaze is still wet, sprinkle with additional crushed peppermint candies or chocolate shavings for a festive touch.
-
Let Glaze Set: Allow the glaze to set completely before slicing and serving. This usually takes about 15-20 minutes.
Tips and Tricks for the Best Chocolate Peppermint Bread
Here are a few extra tips to ensure your Chocolate Peppermint Bread turns out perfectly every time:
-
Use High-Quality Cocoa Powder: The quality of your cocoa powder will significantly impact the flavor of the bread. I recommend using a Dutch-processed cocoa powder for a richer, more intense chocolate flavor.
-
Don’t Overmix the Batter: Overmixing develops the gluten in the flour, which can result in a tough bread. Mix until just combined, and then gently fold in the chocolate chips and peppermint candies.
-
Adjust Baking Time as Needed: Every oven is different, so keep an eye on the bread while it’s baking. If the top starts to brown too quickly, you can tent it with foil to prevent it from burning.
-
Let the Bread Cool Completely: This is crucial for preventing the bread from crumbling when you slice it. Be patient and let it cool completely on a wire rack before slicing and serving.
-
Storage: Store the bread in an airtight container at room temperature for up to 3 days, or in the refrigerator for up to a week. You can also freeze it for longer storage. Wrap it tightly in plastic wrap and then in foil before freezing.
-
Variations: Feel free to experiment with different variations! You could add chopped walnuts or pecans to the batter, or use white chocolate chips instead of semi-sweet. You could also add a swirl of cream cheese filling for an extra decadent treat.
-
Peppermint Extract: Be careful with the peppermint extract! A little goes a long way. Start with the recommended amount and add more to taste, but be careful not to overdo it, or the bread will taste like toothpaste!
-
Crushed Peppermint Candies: You can use store-bought crushed peppermint candies, or you can crush your own. Simply place the candies in a zip-top bag and crush them with a rolling pin or mallet.
-
Buttermilk Substitute: If you don’t have buttermilk on hand, you can make your own by adding 1 tablespoon of lemon juice or white vinegar to 1 cup of milk. Let it sit for 5 minutes before using.
-
Serving Suggestions: This Chocolate Peppermint Bread is delicious on its own, but it’s also great served with a scoop of vanilla ice cream or a dollop of whipped cream. It’s the perfect treat for the holidays, or any time you’re craving something sweet and festive!
Enjoy your delicious Chocolate Peppermint Bread! I hope you love it as much as I do!
Conclusion:
This Chocolate Peppermint Bread isn’t just another holiday recipe; it’s a guaranteed crowd-pleaser that will fill your kitchen with the most amazing aroma and your taste buds with pure joy. The rich, decadent chocolate swirled with the refreshing coolness of peppermint creates a symphony of flavors that’s simply irresistible. From the moist, tender crumb to the delightful peppermint candy crunch, every bite is an experience. I truly believe this is a must-bake, especially during the festive season, but honestly, it’s delicious any time of year!
But the best part? It’s incredibly versatile! Serve it warm with a scoop of vanilla ice cream for an extra indulgent dessert. Or, slice it thinly and toast it for a delightful breakfast treat. For a truly decadent experience, try spreading a layer of chocolate ganache or a simple cream cheese frosting on top.
Serving Suggestions and Variations:
* For a festive brunch: Serve slices of the bread alongside a platter of fresh berries and a dollop of whipped cream.
* As a thoughtful gift: Wrap a loaf in parchment paper and tie it with a festive ribbon. It’s the perfect homemade gift for friends, family, or neighbors.
* Peppermint Bark Variation: Incorporate chopped peppermint bark into the batter for an even more intense peppermint flavor and a beautiful visual appeal.
* Chocolate Chip Addition: Add a handful of chocolate chips to the batter for an extra layer of chocolatey goodness.
* Espresso Boost: A teaspoon of instant espresso powder added to the batter will enhance the chocolate flavor and add a subtle depth.
* Glaze it up: A simple powdered sugar glaze with a hint of peppermint extract drizzled over the cooled loaf adds a touch of elegance and extra sweetness.
I’ve poured my heart into perfecting this recipe, and I’m so excited for you to try it. I know you’ll love the combination of rich chocolate and refreshing peppermint. It’s a recipe that’s sure to become a family favorite, passed down through generations.
Don’t be intimidated by the swirling technique; it’s much easier than it looks! Just follow the instructions carefully, and you’ll be rewarded with a beautiful and delicious loaf of Chocolate Peppermint Bread.
So, what are you waiting for? Preheat your oven, gather your ingredients, and get ready to bake! I promise you won’t regret it. This recipe is more than just a set of instructions; it’s an invitation to create something special, something that will bring joy to yourself and those you share it with.
I can’t wait to hear about your baking adventures! Please, please, please try this recipe and let me know how it turns out. Share your photos and stories in the comments below. Did you make any variations? What did your family think? I’m eager to learn from your experiences and see your beautiful creations. Happy baking!
Chocolate Peppermint Bread: A Festive Holiday Recipe
Moist, decadent chocolate peppermint bread swirled with chocolate chips and crushed peppermint candies. Perfect for the holidays!
Ingredients
Instructions
Recipe Notes
- Use high-quality Dutch-processed cocoa powder for a richer flavor.
- Don’t overmix the batter.
- Adjust baking time as needed, and tent with foil if the top browns too quickly.
- Let the bread cool completely before slicing.
- Store in an airtight container at room temperature for up to 3 days, or in the refrigerator for up to a week. Freeze for longer storage.
- Be careful with the peppermint extract; a little goes a long way.
- If you don’t have buttermilk, add 1 tablespoon of lemon juice or white vinegar to 1 cup of milk and let sit for 5 minutes.


Leave a Comment