

Beginner sweet dishes, are you ready to embark on a delightful culinary adventure? Forget complicated techniques and intimidating ingredients! I’m here to guide you through the wonderful world of easy-to-make desserts that will impress your friends and family, and most importantly, satisfy your sweet tooth.
For generations, the joy of creating simple, delicious treats has been passed down through families. Think of the comforting aroma of freshly baked cookies filling your grandmother’s kitchen, or the simple pleasure of sharing a homemade pie with loved ones. These moments are often centered around uncomplicated, yet deeply satisfying, sweets.
What makes these beginner sweet dishes so universally loved? It’s the perfect combination of ease and deliciousness. They require minimal effort and readily available ingredients, making them ideal for busy weeknights or spontaneous gatherings. Plus, who can resist the allure of a warm, gooey brownie, a light and fluffy mousse, or a perfectly crisp apple crumble? The textures, the flavors, the sheer comfort they provide – it’s a winning combination that transcends cultures and generations. So, let’s get started and unlock the secrets to creating irresistible desserts, even if you’re a complete beginner!

Ingredients:
- For the Cake:
- 2 cups all-purpose flour
- 2 cups granulated sugar
- ¾ cup unsweetened cocoa powder
- 1 ½ teaspoons baking powder
- 1 ½ teaspoons baking soda
- 1 teaspoon salt
- 1 cup buttermilk
- ½ cup vegetable oil
- 2 large eggs
- 2 teaspoons vanilla extract
- 1 cup boiling water
- For the Chocolate Buttercream Frosting:
- 1 cup (2 sticks) unsalted butter, softened
- 3 cups powdered sugar
- ¾ cup unsweetened cocoa powder
- ½ cup milk
- 1 teaspoon vanilla extract
- Pinch of salt
Preparing the Chocolate Cake:
- Preheat and Prep: First things first, let’s get our oven ready. Preheat it to 350°F (175°C). While it’s heating up, grease and flour two 9-inch round cake pans. This is super important to prevent the cake from sticking! I like to use a baking spray that already has flour in it for extra insurance.
- Combine Dry Ingredients: In a large bowl, whisk together the flour, sugar, cocoa powder, baking powder, baking soda, and salt. Make sure everything is evenly distributed. This step ensures that the baking powder and soda work their magic properly, giving us a nice, fluffy cake.
- Add Wet Ingredients: Now, add the buttermilk, vegetable oil, eggs, and vanilla extract to the dry ingredients. Beat with an electric mixer on medium speed for about 2 minutes, or until well combined. The batter will look a little thin at this point, and that’s perfectly normal.
- Incorporate Boiling Water: This is where the magic happens! Gradually add the boiling water to the batter while mixing on low speed. Be careful not to splash yourself! The batter will become even thinner, but don’t worry, it’s supposed to. The hot water helps to bloom the cocoa powder, intensifying the chocolate flavor.
- Divide and Bake: Pour the batter evenly into the prepared cake pans. Bake for 30-35 minutes, or until a wooden skewer inserted into the center comes out clean. Keep a close eye on them, as baking times can vary depending on your oven.
- Cool Completely: Once the cakes are done, let them cool in the pans for about 10 minutes before inverting them onto a wire rack to cool completely. This prevents them from sticking and allows them to cool evenly. Make sure they are completely cool before frosting, or the frosting will melt!
Making the Chocolate Buttercream Frosting:
- Cream the Butter: In a large bowl, beat the softened butter with an electric mixer on medium speed until light and fluffy. This usually takes about 3-5 minutes. The butter should be at room temperature for the best results. If it’s too cold, it will be difficult to cream, and if it’s too warm, it will be greasy.
- Add Powdered Sugar and Cocoa: Gradually add the powdered sugar and cocoa powder to the butter, beating on low speed until combined. Start with a low speed to prevent a powdered sugar cloud!
- Incorporate Milk and Vanilla: Add the milk and vanilla extract to the mixture and beat on medium speed until smooth and creamy. If the frosting is too thick, add a little more milk, one tablespoon at a time, until you reach the desired consistency. If it’s too thin, add a little more powdered sugar.
- Add a Pinch of Salt: A pinch of salt enhances the chocolate flavor and balances the sweetness of the frosting.
- Whip for Fluffiness: Continue to beat the frosting for another 2-3 minutes until it’s light and fluffy. This incorporates air into the frosting, making it easier to spread.
Assembling the Chocolate Cake:
- Level the Cakes (Optional): If your cakes have a slight dome on top, use a serrated knife to carefully level them. This will make stacking and frosting much easier. I usually just eyeball it, but you can use a cake leveler for more precision.
- Place First Layer: Place one cake layer on a serving plate or cake stand. If you want to prevent the cake from sliding, you can put a small dab of frosting on the plate first.
- Frost the First Layer: Spread a generous layer of chocolate buttercream frosting evenly over the first cake layer. I like to use an offset spatula for this, but a regular butter knife works just fine too.
- Add Second Layer: Carefully place the second cake layer on top of the frosting.
- Frost the Entire Cake: Frost the top and sides of the cake with the remaining chocolate buttercream frosting. You can create a smooth finish or add swirls and textures for a more rustic look. I personally love a rustic look – it’s more forgiving!
- Decorate (Optional): Decorate the cake as desired. You can use chocolate shavings, sprinkles, fresh berries, or anything else that strikes your fancy. Get creative and have fun with it!
- Chill (Optional): For best results, chill the cake in the refrigerator for at least 30 minutes before serving. This will help the frosting set and make the cake easier to slice.
- Serve and Enjoy!: Slice and serve your delicious homemade chocolate cake. Enjoy!
Tips and Tricks for the Perfect Chocolate Cake:
- Use Room Temperature Ingredients: Using room temperature ingredients, especially the butter and eggs, helps them emulsify properly, resulting in a smoother batter and a more tender cake.
- Don’t Overmix the Batter: Overmixing the batter can develop the gluten in the flour, resulting in a tough cake. Mix until just combined.
- Measure Ingredients Accurately: Baking is a science, so it’s important to measure your ingredients accurately. Use measuring cups and spoons, and level off dry ingredients with a knife.
- Don’t Overbake the Cake: Overbaking the cake will make it dry. Check for doneness by inserting a wooden skewer into the center. If it comes out clean, the cake is done.
- Cool the Cakes Completely Before Frosting: Frosting a warm cake will cause the frosting to melt and slide off. Make sure the cakes are completely cool before frosting.
- Use High-Quality Cocoa Powder: The quality of the cocoa powder will affect the flavor of the cake. Use a good-quality unsweetened cocoa powder for the best results. Dutch-processed cocoa powder will give you a darker, richer flavor.
- Add Coffee for Extra Flavor: For an even deeper chocolate flavor, you can substitute the boiling water with hot coffee. The coffee enhances the chocolate flavor without making the cake taste like coffee.
- Make it Ahead: You can bake the cake layers ahead of time and store them in the refrigerator or freezer until you’re ready to frost them. Wrap them tightly in plastic wrap to prevent them from drying out.
- Freeze the Cake: Chocolate cake freezes beautifully. Wrap the frosted or unfrosted cake tightly in plastic wrap and then in foil. It can be stored in the freezer for up to 3 months. Thaw in the refrigerator overnight before serving.
Variations and Add-ins:
- Chocolate Chips: Add chocolate chips to the batter for extra chocolatey goodness.
- Nuts: Add chopped nuts, such as walnuts or pecans, to the batter for added texture and flavor.
- Espresso Powder: Add a teaspoon of espresso powder to the batter to enhance the chocolate flavor.
- Peanut Butter Frosting: Substitute the chocolate buttercream frosting with peanut butter frosting for a delicious peanut butter chocolate combination.
- Cream Cheese Frosting: Use cream cheese frosting instead of buttercream for a tangy twist.
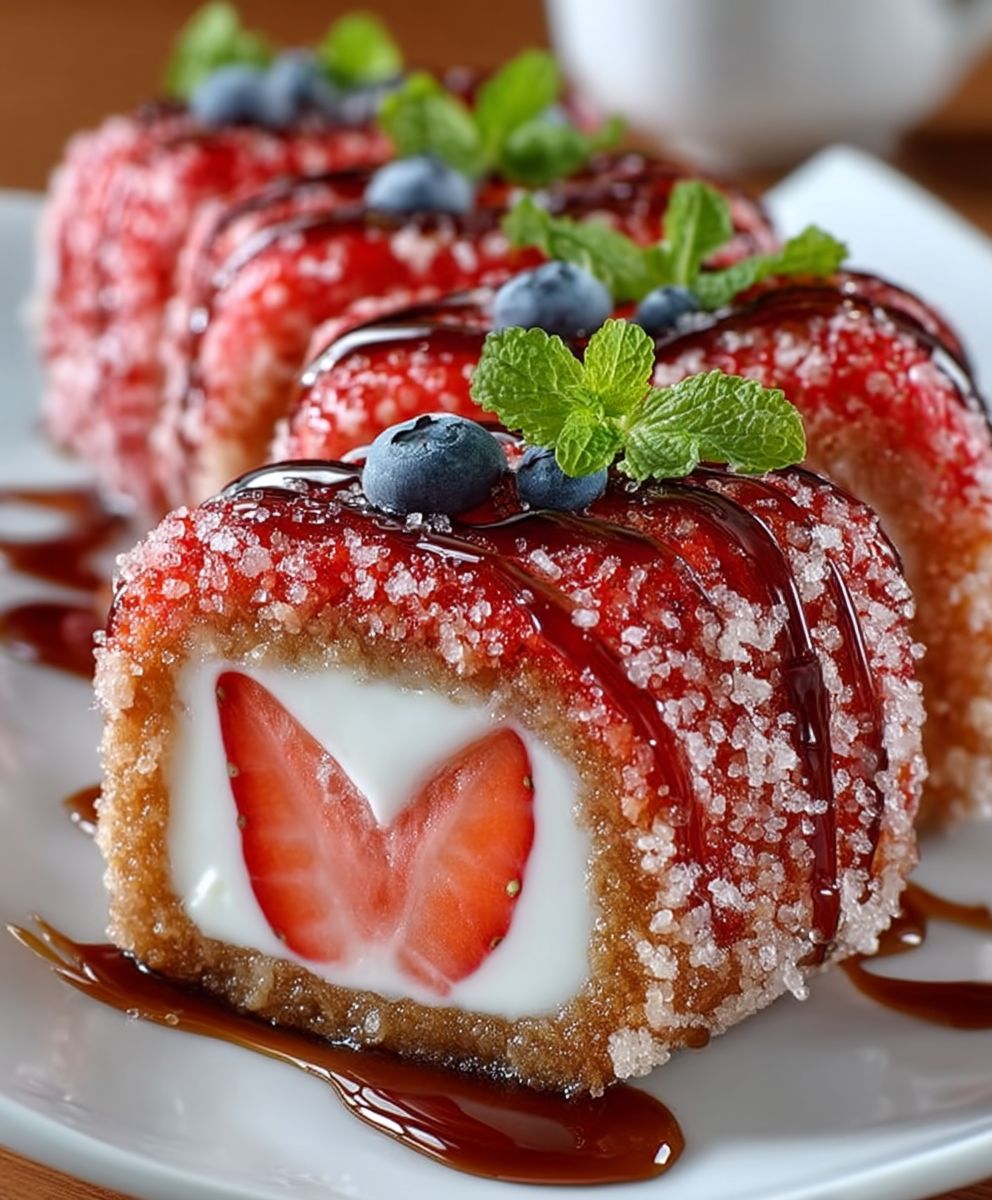
- Salted Caramel: Drizzle salted caramel sauce over the frosted cake for a decadent treat.
- Berries: Top the cake with fresh berries, such as strawberries, raspberries, or blueberries, for a burst of freshness.
Troubleshooting:
- Cake is Dry: Make sure you’re not overbaking the cake. Also, ensure you’re using enough liquid in the batter.
- Cake is Dense: This could be due to overmixing the batter or not using enough leavening agents (baking powder and baking soda).
- Cake is Sinking in the Middle: This could be due to underbaking the cake or opening the oven door too frequently during baking.
- Use room temperature ingredients for best results.
- Don’t overmix the batter.
- Measure ingredients accurately.
- Don’t overbake the cake.
- Cool the cakes completely before frosting.
- Use high-quality cocoa powder.
- Substitute boiling water with hot coffee for a deeper chocolate flavor.
- Cake layers can be made ahead and stored in the refrigerator or freezer.
Conclusion:
And there you have it! I truly believe this guide to beginner sweet dishes is a must-try for anyone looking to dip their toes into the world of baking and dessert making. It’s designed to be approachable, forgiving, and, most importantly, delicious. We’ve covered the fundamentals, offered simple yet satisfying recipes, and hopefully, ignited a spark of culinary creativity within you.
Why is this guide a must-try? Because it eliminates the intimidation factor often associated with baking. We’ve broken down complex techniques into manageable steps, using readily available ingredients and equipment. You don’t need to be a seasoned chef to create impressive and delightful treats. These recipes are designed for success, even if you’ve never baked a day in your life. Plus, the satisfaction of creating something delicious from scratch is an unparalleled feeling!
But the fun doesn’t stop there! Feel free to experiment and personalize these recipes to your liking. For the chocolate chip cookies, try adding different types of chocolate chips – dark, milk, or even white chocolate. A sprinkle of sea salt on top before baking elevates the flavor profile beautifully. You could also incorporate chopped nuts like walnuts or pecans for added texture and richness.
The simple sugar cookies are a blank canvas for your creativity. Use different cookie cutters to create fun shapes, and decorate them with colorful frosting, sprinkles, or edible glitter. Get the kids involved and make it a family activity! For a festive twist, add a touch of lemon or orange zest to the dough.
And don’t forget about the easy fudge recipe! This is incredibly versatile. Add chopped nuts, dried fruit, or even a swirl of peanut butter for a unique flavor combination. For a more decadent treat, top the fudge with a layer of ganache.
Serving suggestions are endless. The cookies are perfect with a glass of cold milk or a cup of hot coffee. The fudge makes a wonderful gift or a sweet addition to a dessert platter. Consider serving the cookies warm, straight from the oven, with a scoop of vanilla ice cream. The fudge can be cut into small squares and served as a bite-sized treat after dinner.
I’m so excited for you to embark on this sweet journey! Remember, baking is all about experimentation and having fun. Don’t be afraid to make mistakes – they’re part of the learning process. The most important thing is to enjoy the process and savor the delicious results.
So, what are you waiting for? Grab your apron, gather your ingredients, and get baking! I’m confident that you’ll be amazed at what you can create. And most importantly, I want to hear about your experience! Please, try out these recipes and share your creations with me. Post pictures of your baked goods on social media and tag me. Let me know what variations you tried and how they turned out. Your feedback is invaluable, and I love seeing your culinary masterpieces. This beginner sweet dishes guide is just the beginning of your baking adventure. I can’t wait to see what you create! Happy baking!
Beginner Sweet Dishes Guide: Easy Recipes for New Bakers
Classic, moist chocolate cake with rich chocolate buttercream frosting. Perfect for birthdays, celebrations, or any chocolate craving!
Ingredients
Instructions


Leave a Comment