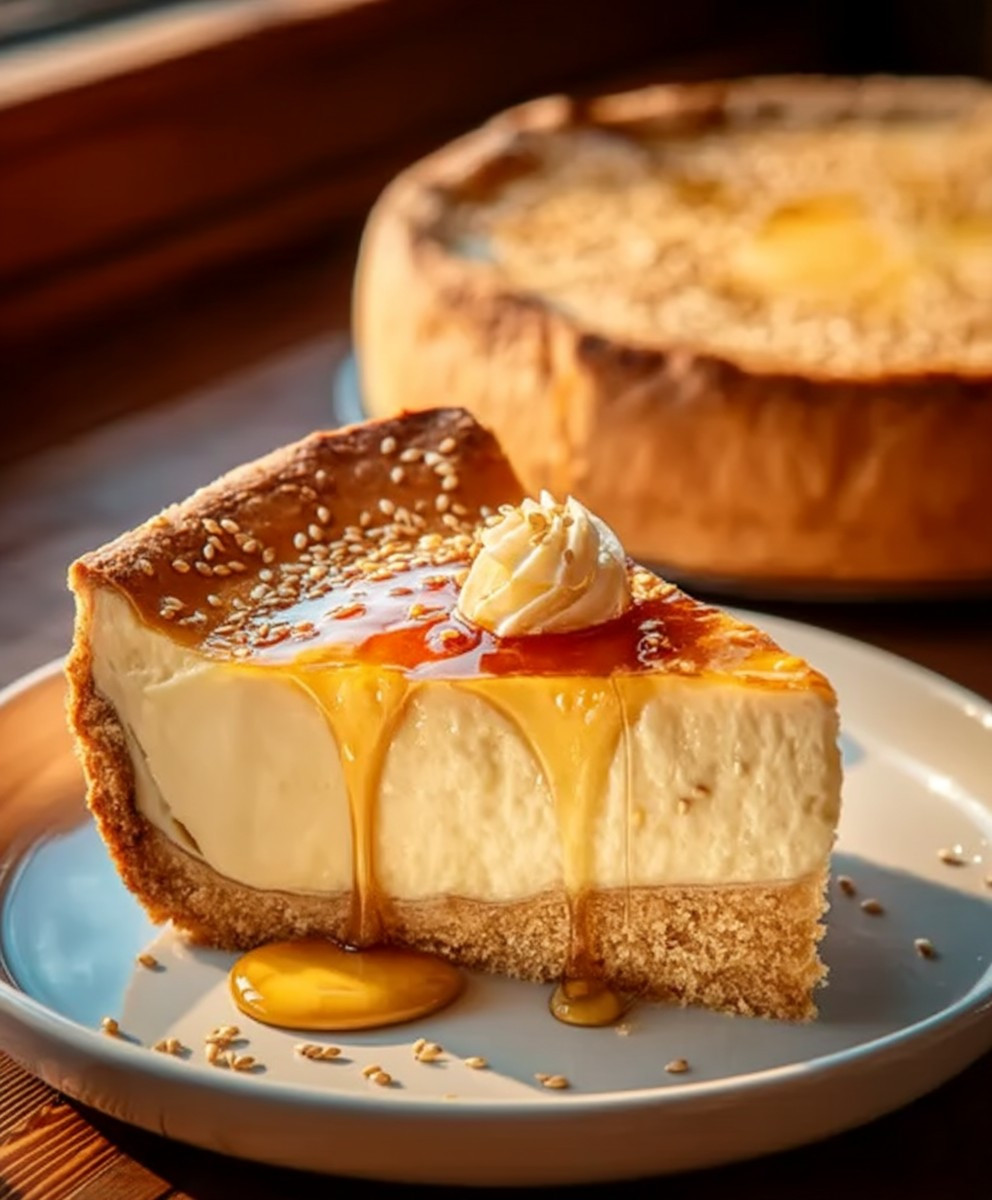
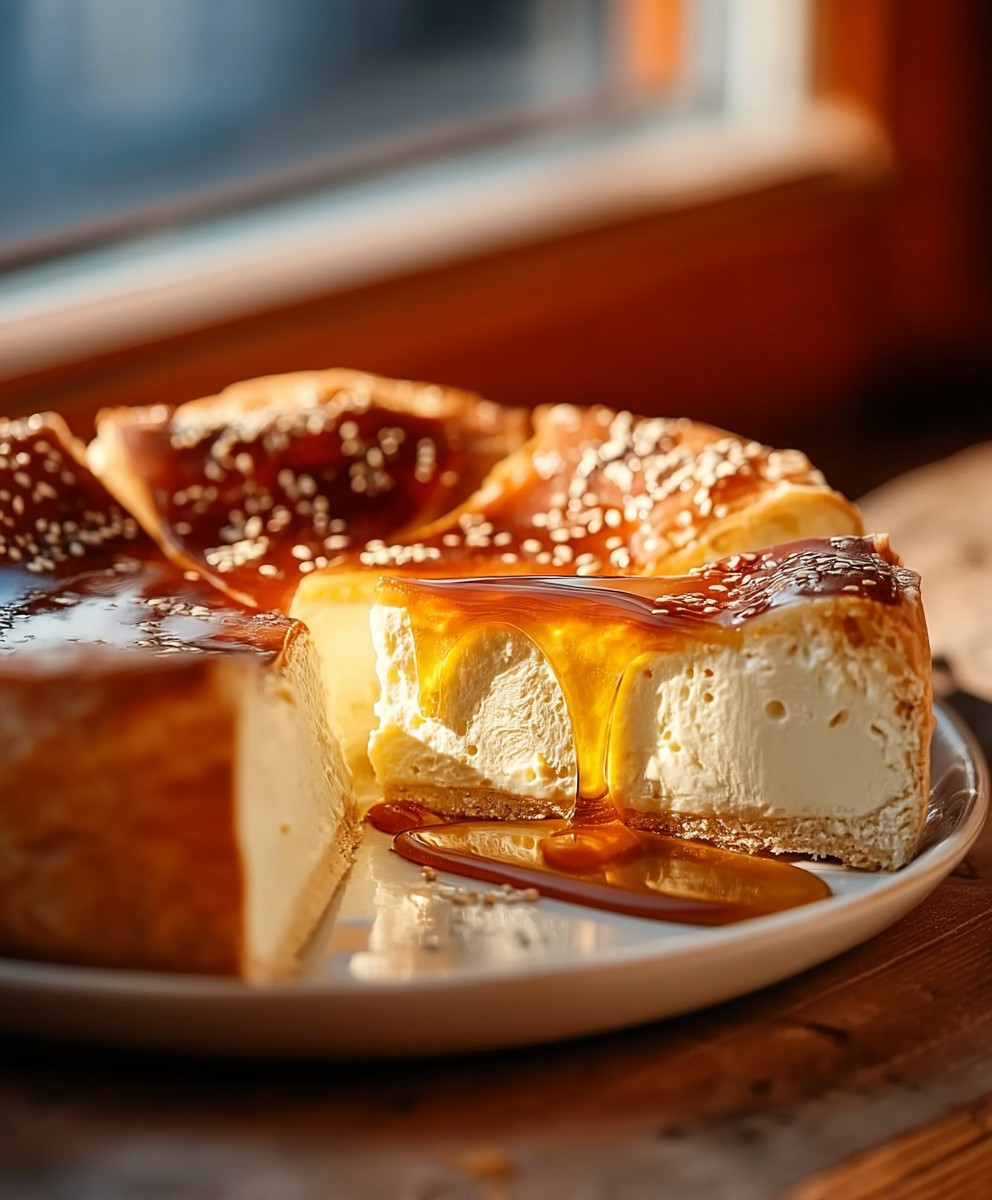
Greek Honey Pie, or Melopita as it’s known in Greece, is more than just a dessert; it’s a taste of sunshine, history, and pure indulgence all baked into one glorious pie. Have you ever imagined biting into a cloud of creamy, honey-infused sweetness that melts in your mouth with every single bite? Well, stop imagining and start baking, because this recipe will transport you straight to a sun-drenched Greek island!
This simple yet elegant pie boasts a rich history, often served during celebrations and special occasions. Passed down through generations, each family holds its own secret to the perfect Melopita. The combination of creamy mizithra cheese (or ricotta, if you prefer), fragrant honey, and a hint of cinnamon creates a symphony of flavors that’s both comforting and sophisticated.
What makes Greek Honey Pie so beloved? It’s the delightful contrast of textures – the smooth, creamy filling against the slightly crisp crust. It’s the ease of preparation – requiring minimal ingredients and effort. And, of course, it’s the irresistible taste – a perfect balance of sweet and savory that will leave you craving more. Get ready to experience a slice of heaven with this authentic and easy-to-follow recipe!
Ingredients:
- For the Phyllo Dough:
- 1 pound phyllo dough, thawed overnight in the refrigerator
- 1 cup (2 sticks) unsalted butter, melted
- For the Honey Syrup:
- 1 ½ cups granulated sugar
- ¾ cup water
- ½ cup honey (Greek thyme honey is ideal, but any good quality honey will work)
- 1 cinnamon stick
- 1 strip of lemon peel (about 2 inches long)
- 2 tablespoons lemon juice
- For the Custard Filling:
- 4 cups whole milk
- 1 cup granulated sugar
- ½ cup fine semolina flour
- 4 large eggs
- 2 large egg yolks
- 2 tablespoons unsalted butter
- 1 teaspoon vanilla extract
- Zest of 1 lemon
- Optional Garnish:
- Ground cinnamon
- Chopped walnuts or pistachios
Preparing the Honey Syrup:
The honey syrup needs to cool completely before you pour it over the baked pie, so it’s best to make it first. This allows ample time for it to cool down properly.
- In a medium saucepan, combine the sugar, water, honey, cinnamon stick, and lemon peel.
- Bring the mixture to a boil over medium heat, stirring occasionally until the sugar dissolves completely.
- Once boiling, reduce the heat to low and simmer for about 8-10 minutes, or until the syrup slightly thickens. You want it to be syrupy but not too thick, as it will thicken further as it cools.
- Remove the saucepan from the heat and stir in the lemon juice.
- Remove the cinnamon stick and lemon peel.
- Pour the syrup into a heatproof bowl and let it cool completely to room temperature. You can even refrigerate it to speed up the cooling process.
Making the Custard Filling:
The custard filling is the heart of this pie, so take your time and follow the steps carefully to ensure a smooth and creamy result.
- In a medium saucepan, combine the milk and sugar. Heat over medium heat, stirring occasionally, until the sugar is dissolved and the milk is steaming but not boiling.
- While the milk is heating, in a separate bowl, whisk together the semolina flour, eggs, and egg yolks until well combined and smooth. This will prevent lumps from forming in the custard.
- Once the milk is hot, slowly pour a small amount (about ½ cup) of the hot milk into the egg mixture, whisking constantly to temper the eggs. This prevents the eggs from scrambling when added to the hot milk.
- Continue adding the hot milk gradually, whisking constantly, until the egg mixture is warmed through.
- Pour the tempered egg mixture back into the saucepan with the remaining milk.
- Cook over medium-low heat, stirring constantly with a whisk, until the custard thickens significantly. This will take about 8-12 minutes. Be patient and keep stirring to prevent the custard from sticking to the bottom of the pan and burning. The custard is ready when it coats the back of a spoon and leaves a clear line when you run your finger through it.
- Remove the saucepan from the heat and stir in the butter, vanilla extract, and lemon zest. Stir until the butter is melted and everything is well combined.
- Pour the custard into a bowl, cover the surface with plastic wrap (pressing the plastic wrap directly onto the custard to prevent a skin from forming), and let it cool slightly while you prepare the phyllo dough.
Assembling and Baking the Pie:
Working with phyllo dough can be a bit tricky, but don’t be intimidated! Just remember to keep the dough covered with a damp towel to prevent it from drying out and cracking. And don’t worry if it tears a little – it will all come together in the end.
- Preheat your oven to 350°F (175°C).
- Grease a 9×13 inch baking dish with butter.
- Unwrap the phyllo dough and place it on a clean, dry surface. Keep it covered with a damp towel to prevent it from drying out.
- Melt the butter in a small saucepan or in the microwave.
- Take one sheet of phyllo dough and place it in the prepared baking dish. Brush it generously with melted butter.
- Repeat this process with about half of the phyllo sheets (approximately 8-10 sheets), layering them in the baking dish and brushing each sheet with melted butter. Make sure the phyllo sheets cover the bottom and sides of the dish.
- Pour the slightly cooled custard filling evenly over the phyllo dough base.
- Now, begin layering the remaining phyllo sheets over the custard filling, brushing each sheet with melted butter as you go. Again, use about 8-10 sheets.
- Once all the phyllo sheets are layered, use a sharp knife to score the top layer of phyllo dough into diamond shapes or squares. This will help the pie bake evenly and make it easier to cut after baking.
- Brush the top of the pie generously with the remaining melted butter.
- Bake in the preheated oven for 45-55 minutes, or until the phyllo dough is golden brown and crispy and the custard is set. The baking time may vary depending on your oven, so keep an eye on it.
- Remove the pie from the oven and let it cool slightly for about 10-15 minutes.
- While the pie is still warm (but not too hot), slowly and evenly pour the cooled honey syrup over the entire surface of the pie. The syrup should soak into the phyllo dough and custard.
- Let the pie cool completely to room temperature before serving. This allows the syrup to fully absorb and the flavors to meld together.
Serving and Storing:
This Greek Honey Pie is best served at room temperature. You can garnish it with a sprinkle of ground cinnamon or chopped walnuts or pistachios for an extra touch of flavor and visual appeal.
- Cut the pie into squares or diamond shapes, following the score lines you made earlier.
- Serve and enjoy!
- To store any leftover pie, cover it tightly with plastic wrap or place it in an airtight container and refrigerate. It will keep in the refrigerator for up to 3 days.
- You can reheat the pie in a low oven (around 300°F or 150°C) for a few minutes to warm it up slightly, but it’s also delicious cold.
Tips for Success:
- Thawing the Phyllo Dough: Make sure to thaw the phyllo dough overnight in the refrigerator. This will prevent it from becoming sticky and difficult to work with. Do not thaw it at room temperature, as this can cause it to become soggy.
- Keeping the Phyllo Dough Moist: Phyllo dough dries out very quickly, so it’s important to keep it covered with a damp towel while you’re working with it. This will prevent it from cracking and tearing.
- Brushing with Butter: Don’t be shy with the melted butter! Brushing each sheet of phyllo dough generously with butter is what gives the pie its crispy and flaky texture.
- Cooling the Syrup: The honey syrup must be completely cool before you pour it over the baked pie. If the syrup is too hot, it will make the phyllo dough soggy.
- Patience is Key: Making this pie takes a little time and effort, but the results are well worth it. Don’t rush the process, and follow the steps carefully for the best results.
- Experiment with Flavors: Feel free to experiment with different flavors in the custard filling. You can add a pinch of nutmeg, a splash of orange blossom water, or even a little bit of grated chocolate.
Enjoy your homemade Greek Honey Pie! It’s a delicious and impressive dessert that’s perfect for any occasion.
Conclusion:
This Greek Honey Pie, or Melopita as it’s traditionally known, is more than just a dessert; it’s a taste of sunshine, a slice of history, and a guaranteed crowd-pleaser. I truly believe this recipe is a must-try for anyone who appreciates simple ingredients transformed into something extraordinary. The creamy, custardy filling, infused with the delicate sweetness of honey and the subtle tang of lemon, nestled within a perfectly golden crust – it’s a symphony of flavors and textures that will leave you wanting more.
But why is it a must-try? Beyond the incredible taste, it’s surprisingly easy to make. Forget complicated techniques and hard-to-find ingredients. This recipe uses everyday staples, and the steps are straightforward, making it perfect for both seasoned bakers and kitchen novices alike. Plus, the aroma that fills your home as it bakes is simply divine, creating a warm and inviting atmosphere that’s hard to resist. It’s the kind of dessert that evokes memories of family gatherings and cozy evenings, and who wouldn’t want to recreate that feeling?
And the best part? It’s incredibly versatile! While I’ve shared my go-to recipe, feel free to experiment and make it your own.
Serving Suggestions and Variations:
* Classic Presentation: Serve it warm or at room temperature, dusted with a generous amount of cinnamon or powdered sugar. A dollop of Greek yogurt or a scoop of vanilla ice cream adds a delightful coolness that complements the warm pie perfectly.
* Fruity Twist: Add a layer of fresh berries, such as blueberries, raspberries, or strawberries, to the bottom of the crust before pouring in the filling. The tartness of the berries will create a wonderful contrast to the sweetness of the honey.
* Nutty Delight: Sprinkle chopped walnuts, almonds, or pistachios over the top of the pie before baking for added texture and flavor.
* Citrus Boost: For an extra burst of citrus, add a teaspoon of orange zest to the filling along with the lemon zest.
* Honey Variations: Experiment with different types of honey to create unique flavor profiles. Thyme honey, orange blossom honey, or chestnut honey will all impart distinct characteristics to the pie.
* Individual Servings: Bake the filling in individual ramekins for a charming and elegant presentation. Adjust the baking time accordingly.
* Breakfast Treat: Enjoy a slice of this Greek Honey Pie for breakfast with a cup of coffee or tea. It’s a surprisingly satisfying and delicious way to start the day.
I’m confident that you’ll fall in love with this recipe as much as I have. It’s a simple yet elegant dessert that’s perfect for any occasion, from casual weeknight dinners to special celebrations. So, gather your ingredients, preheat your oven, and get ready to experience the magic of homemade Melopita.
I truly encourage you to give this recipe a try. I’ve poured my heart into perfecting it, and I’m excited for you to experience the joy of creating and sharing this delicious treat. And most importantly, I’d love to hear about your experience! Did you try any of the variations? Did you make any adjustments to the recipe? What did your family and friends think? Share your photos and stories in the comments below – I can’t wait to see your creations! Happy baking!
Greek Honey Pie: A Delicious & Authentic Recipe
Classic Greek Honey Pie (Galaktoboureko) with crispy phyllo, creamy lemon-vanilla custard, and sweet honey syrup.
Ingredients
Instructions
Recipe Notes
- Thawing the Phyllo Dough: Make sure to thaw the phyllo dough overnight in the refrigerator. This will prevent it from becoming sticky and difficult to work with. Do not thaw it at room temperature, as this can cause it to become soggy.
- Keeping the Phyllo Dough Moist: Phyllo dough dries out very quickly, so it’s important to keep it covered with a damp towel while you’re working with it. This will prevent it from cracking and tearing.
- Brushing with Butter: Don’t be shy with the melted butter! Brushing each sheet of phyllo dough generously with butter is what gives the pie its crispy and flaky texture.
- Cooling the Syrup: The honey syrup must be completely cool before you pour it over the baked pie. If the syrup is too hot, it will make the phyllo dough soggy.
- Patience is Key: Making this pie takes a little time and effort, but the results are well worth it. Don’t rush the process, and follow the steps carefully for the best results.
- Experiment with Flavors: Feel free to experiment with different flavors in the custard filling. You can add a pinch of nutmeg, a splash of orange blossom water, or even a little bit of grated chocolate.
- Serving and Storing: This Greek Honey Pie is best served at room temperature. You can garnish it with a sprinkle of ground cinnamon or chopped walnuts or pistachios for an extra touch of flavor and visual appeal.
- Cut the pie into squares or diamond shapes, following the score lines you made earlier.
- Serve and enjoy!
- To store any leftover pie, cover it tightly with plastic wrap or place it in an airtight container and refrigerate. It will keep in the refrigerator for up to 3 days.
- You can reheat the pie in a low oven (around 300°F or 150°C) for a few minutes to warm it up slightly, but it’s also delicious cold.


Leave a Comment