

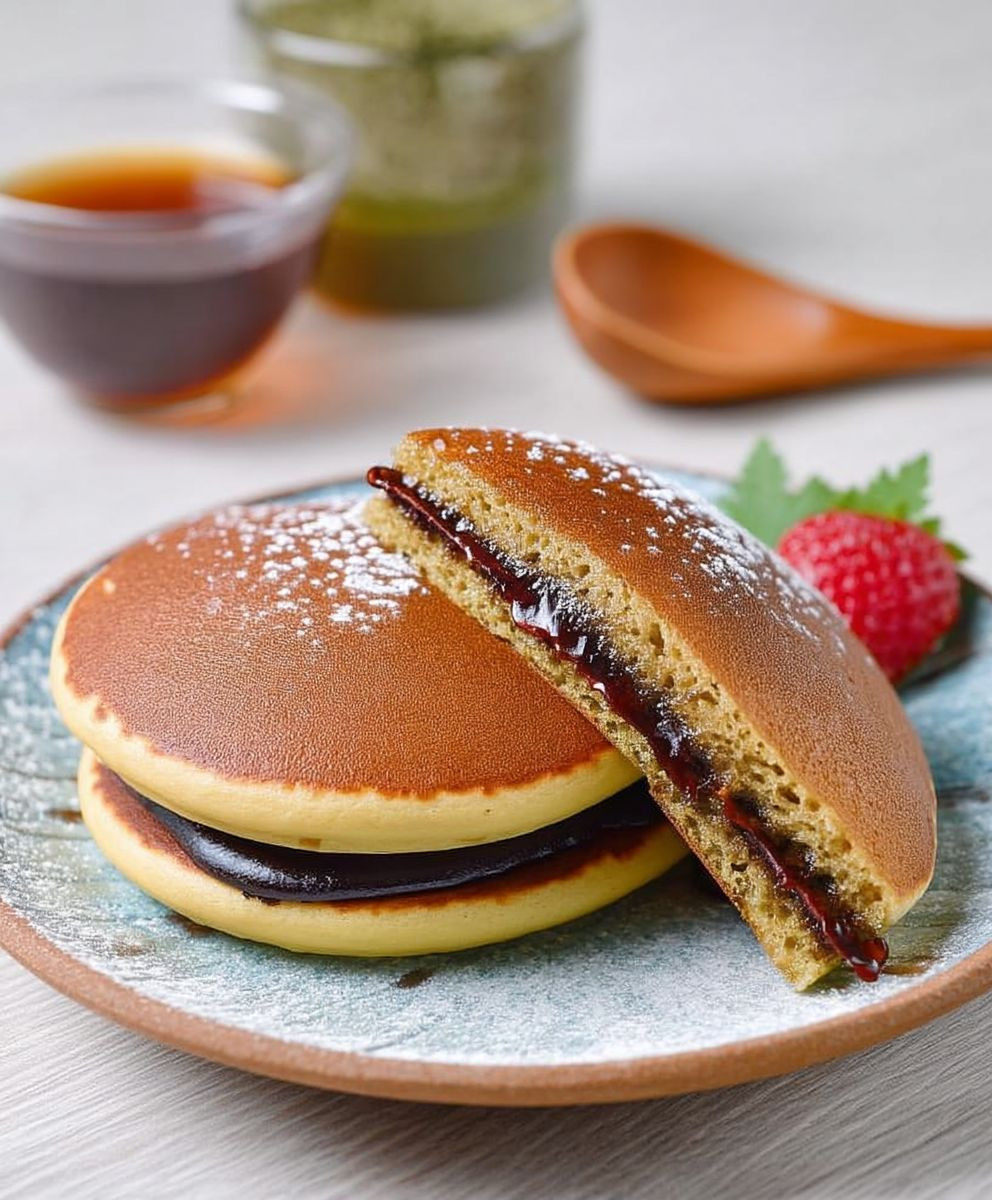
Japanese Dorayaki Pancakes, those delightful little stacks of sweet, pillowy goodness, are about to become your new favorite treat! Imagine sinking your teeth into two golden-brown, honey-kissed pancakes sandwiching a luscious, sweet red bean paste filling. Sounds heavenly, right? Well, get ready to experience pure bliss because this recipe will guide you through creating perfect dorayaki in your own kitchen.
Dorayaki boasts a rich history, deeply rooted in Japanese culture. Legend has it that a samurai named Benkei once forgot his gong (dora) at a farmer’s house, and the farmer used it to fry pancakes, hence the name “dorayaki.” While the exact origins may be shrouded in folklore, the pancake’s popularity is undeniable. These treats are a staple at festivals, a common sight in Japanese bakeries, and even a beloved snack of the iconic cartoon character, Doraemon!
But what makes Japanese Dorayaki Pancakes so irresistible? It’s the perfect combination of textures and flavors. The pancakes themselves are incredibly soft and fluffy, with a subtle sweetness that complements the rich, earthy flavor of the anko (red bean paste). They are also incredibly convenient to make and enjoy. Whether you’re looking for a quick breakfast, a satisfying afternoon snack, or a delightful dessert, dorayaki always hits the spot. So, let’s get started and unlock the secrets to making these iconic Japanese pancakes!

Ingredients:
- For the Pancakes:
- 2 large eggs
- 100g granulated sugar
- 1 tablespoon honey
- 1 tablespoon mirin (sweet rice wine) – optional, but recommended
- 1 teaspoon baking soda
- 2 tablespoons water
- 120g all-purpose flour, sifted
- 1 tablespoon vegetable oil, for greasing the pan
- For the Anko (Red Bean Paste) Filling:
- 250g dried azuki beans
- 250g granulated sugar
- Pinch of salt
- Water, for soaking and cooking
Preparing the Anko (Red Bean Paste)
Okay, let’s tackle the anko first. This part takes the longest, so it’s best to get it out of the way. Don’t be intimidated; it’s mostly just simmering and waiting!
- Soaking the Azuki Beans: Rinse the azuki beans thoroughly under cold water. Place them in a large bowl and cover with plenty of water (at least twice the volume of the beans). Let them soak for at least 4 hours, or preferably overnight. This step is crucial for softening the beans and reducing cooking time. I usually soak them before I go to bed so they are ready to cook the next day.
- First Boil and Discard: After soaking, drain the beans and transfer them to a large pot. Cover them with fresh water, ensuring the water level is about 2 inches above the beans. Bring the water to a boil over high heat. Once boiling, reduce the heat to medium and let the beans simmer for about 5 minutes. This initial boil helps to remove any impurities and bitterness from the beans. After 5 minutes, drain the beans again and rinse the pot.
- Second Boil and Simmer: Return the beans to the pot and cover them with fresh water again, ensuring the water level is about 2 inches above the beans. Bring the water to a boil over high heat, then immediately reduce the heat to the lowest setting. Cover the pot with a lid, leaving a small gap for steam to escape. Simmer the beans gently for about 1 to 1.5 hours, or until they are very soft and easily mashed with a spoon. Check the water level periodically and add more water if needed to prevent the beans from drying out. The key here is low and slow – you want the beans to cook evenly and become incredibly tender.
- Mashing the Beans: Once the beans are cooked, drain off most of the cooking liquid, leaving just enough to keep the beans moist. Using a potato masher or a fork, mash the beans in the pot until they reach your desired consistency. Some people prefer a completely smooth paste, while others like to leave some whole beans for texture. I personally like a little bit of both!
- Adding Sugar and Salt: Add the sugar and salt to the mashed beans. Stir well to combine. Return the pot to low heat and continue to cook, stirring constantly, for about 15-20 minutes, or until the mixture thickens and the sugar is completely dissolved. Be careful not to burn the paste – keep the heat low and stir frequently. The anko is ready when it pulls away from the sides of the pot and forms a cohesive mass.
- Cooling the Anko: Remove the pot from the heat and let the anko cool completely. As it cools, it will thicken further. You can transfer it to an airtight container and store it in the refrigerator for up to a week.
Preparing the Dorayaki Pancakes
Now for the fun part – making the pancakes! This is where the magic happens, and you’ll start to see your dorayaki taking shape.
- Whisking the Eggs and Sugar: In a large bowl, whisk together the eggs and sugar until the mixture is pale and frothy. This usually takes about 2-3 minutes of vigorous whisking. The mixture should be light and airy, which will help create fluffy pancakes.
- Adding Honey and Mirin: Add the honey and mirin (if using) to the egg mixture and whisk until well combined. The honey adds a touch of sweetness and helps to keep the pancakes moist, while the mirin adds a subtle depth of flavor.
- Dissolving Baking Soda: In a small bowl, dissolve the baking soda in the water. This creates a reaction that will help the pancakes rise and become light and airy. Add this mixture to the egg mixture and whisk until just combined. Be careful not to overmix at this stage.
- Adding the Flour: Gradually add the sifted flour to the wet ingredients, whisking gently until just combined. It’s important to sift the flour to prevent lumps and ensure a smooth batter. Be careful not to overmix the batter, as this can develop the gluten in the flour and result in tough pancakes. A few small lumps are okay.
- Resting the Batter: Cover the bowl with plastic wrap and let the batter rest for at least 15 minutes, or up to 30 minutes, at room temperature. This allows the gluten in the flour to relax, resulting in more tender pancakes.
Cooking the Dorayaki Pancakes
Time to cook those beautiful pancakes! This part requires a little bit of practice to get the perfect shape and color, but don’t worry, even imperfect pancakes taste delicious.
- Heating the Pan: Heat a non-stick frying pan or griddle over medium-low heat. Lightly grease the pan with vegetable oil. You can use a paper towel to spread the oil evenly and remove any excess. The pan should be hot enough that a drop of water sizzles and evaporates quickly, but not so hot that the pancakes burn.
- Pouring the Batter: Pour about 2-3 tablespoons of batter onto the hot pan for each pancake. Try to pour the batter in a circular motion to create even, round pancakes. You can use a small ladle or a measuring cup to ensure consistent size.
- Cooking the Pancakes: Cook the pancakes for about 2-3 minutes per side, or until golden brown and cooked through. You’ll know it’s time to flip the pancake when small bubbles start to appear on the surface and the edges begin to set. Use a thin spatula to carefully flip the pancakes. The second side will usually cook faster than the first.
- Stacking the Pancakes: As the pancakes are cooked, transfer them to a plate and cover them with a clean kitchen towel to keep them warm and moist. This will prevent them from drying out while you cook the remaining batter.
Assembling the Dorayaki
The final step – putting it all together! This is the most satisfying part, when you finally get to enjoy the fruits of your labor.
- Pairing the Pancakes: Lay out the cooked pancakes in pairs, making sure that each pair is roughly the same size and shape.
- Adding the Anko Filling: Spread a generous amount of anko (red bean paste) on the flat side of one pancake. The amount of anko you use is up to you, but I usually use about 2-3 tablespoons per pancake.
- Sandwiching the Pancakes: Top the anko-covered pancake with the other pancake, flat side down, to create a sandwich. Gently press the edges together to seal the filling inside.
- Serving the Dorayaki: Serve the dorayaki immediately, or wrap them individually in plastic wrap and store them in the refrigerator for later. They are best enjoyed within a few days.
Tips for Perfect Dorayaki:
- Don’t Overmix the Batter: Overmixing develops the gluten in the flour, resulting in tough pancakes. Mix just until the ingredients are combined.
- Use Low Heat: Cooking the pancakes over low heat ensures that they cook evenly and don’t burn.
- Rest the Batter: Resting the batter allows the gluten to relax, resulting in more tender pancakes.
- Adjust Sweetness: Adjust the amount of sugar in the anko and pancake batter to your liking.
- Experiment with Fillings: While anko is the traditional filling, you can experiment with other fillings such as custard, chocolate, or fruit.
Enjoy your homemade Dorayaki!
Conclusion:
And there you have it! These Japanese Dorayaki Pancakes are more than just a sweet treat; they’re a little piece of Japanese culture you can create right in your own kitchen. I truly believe this recipe is a must-try for anyone who loves fluffy pancakes, delicious fillings, or simply wants to experience a unique and satisfying dessert. The combination of the subtly sweet, honey-infused pancakes and the smooth, rich red bean paste is simply divine. It’s a flavor profile that’s both comforting and exciting, familiar yet intriguingly different from your average pancake breakfast.
But the best part? It’s incredibly versatile! While the classic red bean paste (anko) filling is the traditional choice and what I highly recommend for your first attempt, don’t be afraid to experiment. Imagine these dorayaki filled with Nutella and sliced bananas for a chocolatey, fruity twist. Or perhaps a dollop of whipped cream and fresh strawberries for a lighter, more summery version. You could even get adventurous and try a savory filling like cream cheese and smoked salmon for a unique brunch option. The possibilities are truly endless!
Beyond the filling, consider different serving suggestions. These dorayaki are perfect as a standalone dessert, enjoyed with a cup of hot green tea or coffee. They also make a delightful addition to a bento box or a fun and portable snack for picnics and outings. For a more elegant presentation, dust them with a light coating of powdered sugar or drizzle them with a honey glaze. You can even cut them into smaller pieces and serve them as bite-sized appetizers at your next gathering.
The key to perfect dorayaki lies in the batter and the cooking technique. Remember to let the batter rest for at least 15 minutes to allow the gluten to relax, resulting in a more tender pancake. And be patient while cooking! Low and slow is the way to go to achieve that beautiful golden-brown color and even cooking. Don’t flip them too early, and make sure the surface is covered in small bubbles before you do.
I’ve poured my heart into perfecting this recipe, and I’m confident that you’ll be able to recreate these delicious Japanese Dorayaki Pancakes at home with ease. I’ve tried to make the instructions as clear and concise as possible, but if you have any questions along the way, please don’t hesitate to ask in the comments below. I’m always happy to help!
Now, it’s your turn! I encourage you to give this recipe a try and experience the joy of making your own dorayaki. Once you’ve made them, I’d love to hear about your experience. Did you stick to the classic red bean filling, or did you get creative with your own variations? What did you think of the texture and flavor? Share your photos and stories in the comments below or tag me on social media – I can’t wait to see what you create! Happy cooking, and enjoy your delicious homemade dorayaki! I am sure you will love this recipe as much as I do.
Japanese Dorayaki Pancakes: A Delicious & Easy Recipe
Fluffy, sweet Japanese pancakes filled with homemade red bean paste (anko). A classic treat perfect for breakfast, dessert, or a snack!
Ingredients
Instructions
Recipe Notes
- Don’t Overmix the Batter: Overmixing develops the gluten in the flour, resulting in tough pancakes. Mix just until the ingredients are combined.
- Use Low Heat: Cooking the pancakes over low heat ensures that they cook evenly and don’t burn.
- Rest the Batter: Resting the batter allows the gluten to relax, resulting in more tender pancakes.
- Adjust Sweetness: Adjust the amount of sugar in the anko and pancake batter to your liking.
- Experiment with Fillings: While anko is the traditional filling, you can experiment with other fillings such as custard, chocolate, or fruit.
- Soaking the beans overnight is highly recommended for the best texture and reduced cooking time.
- When simmering the anko, keep the heat very low and stir frequently to prevent burning.


Leave a Comment