


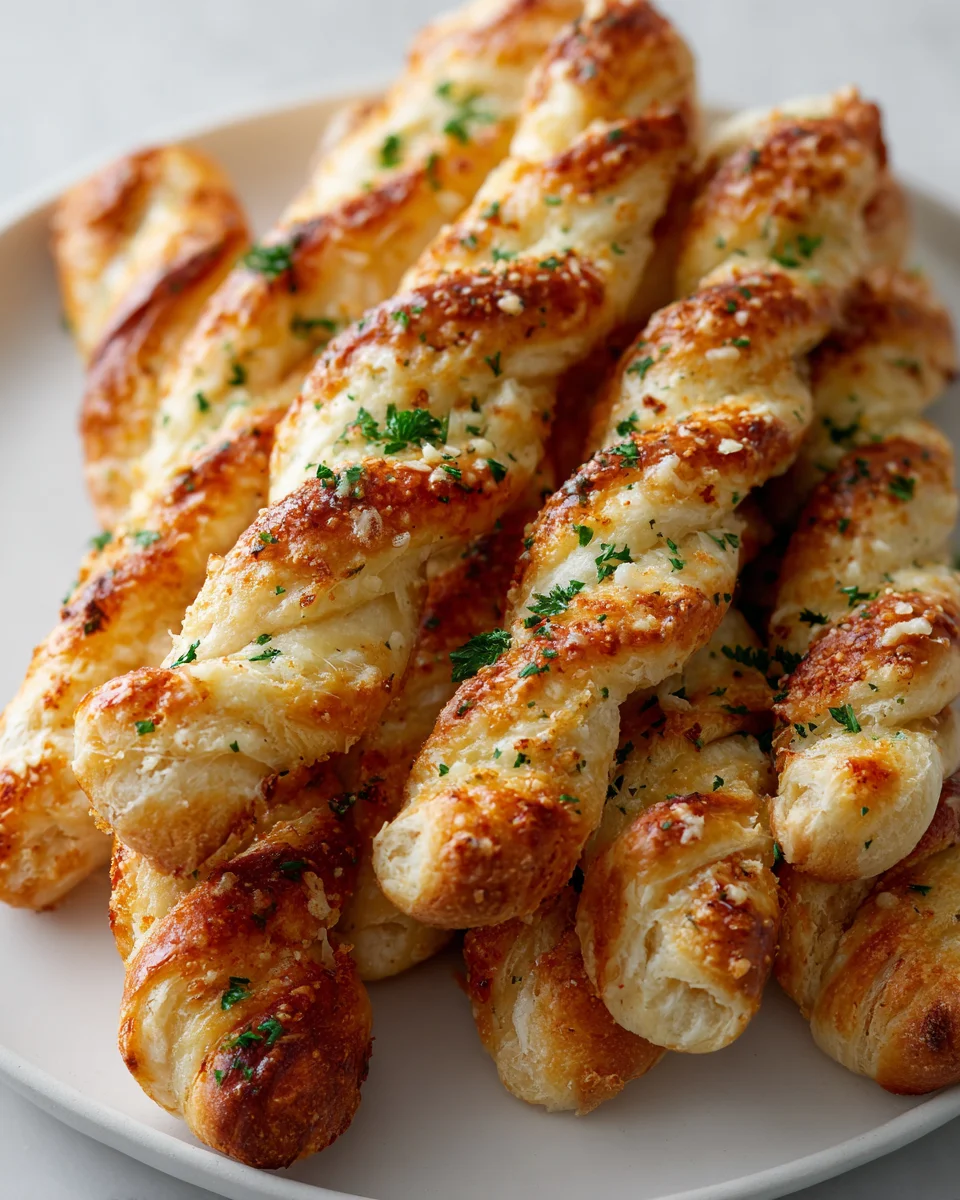
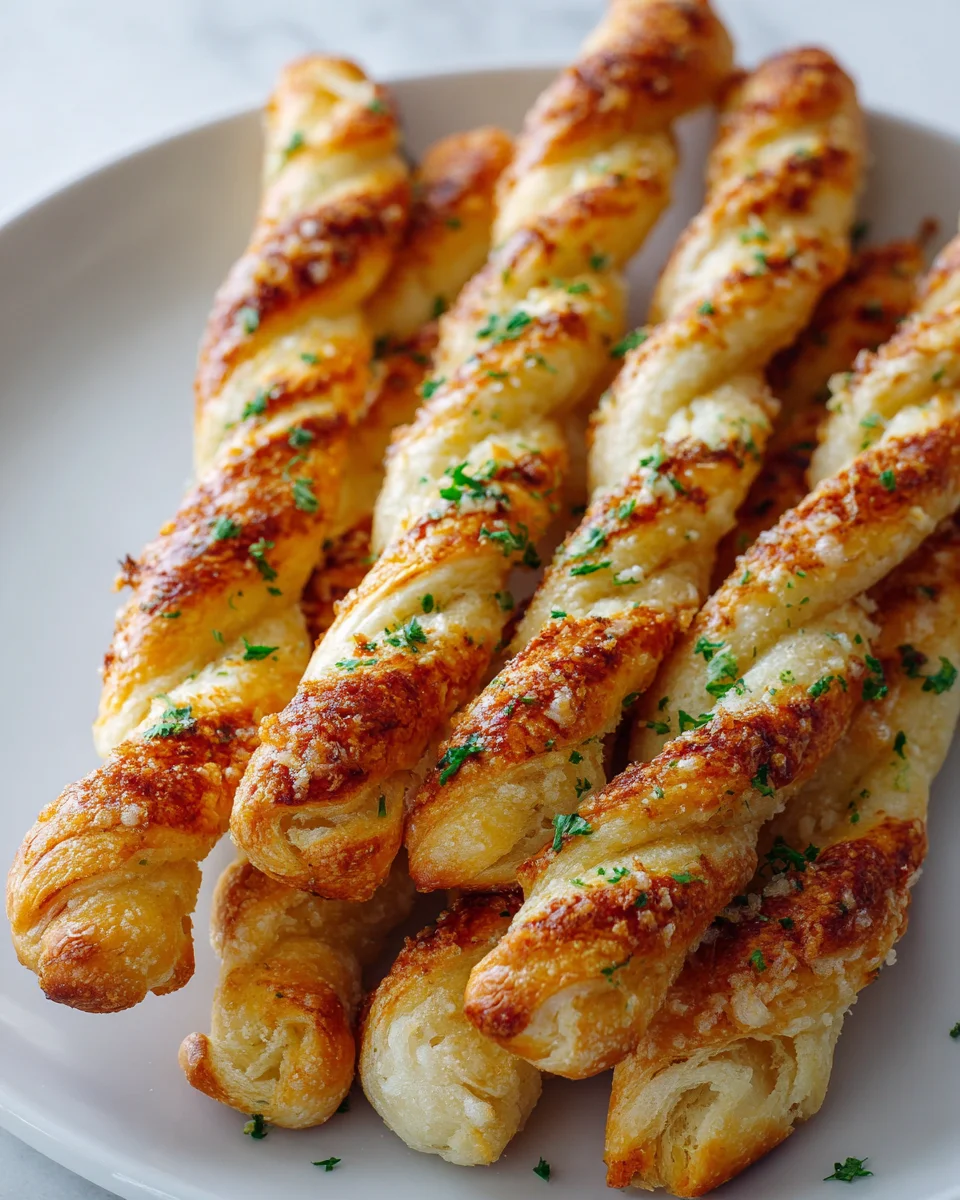
Growing up, one of my favorite memories was our family pizza night. We’d gather around the kitchen table, laughter filling the air as we crafted our own personalized pizzas. But the real stars of the show were always the Garlic Parmesan Breadstick Twists. I can still remember the moment my mom would pull the golden-brown twists from the oven, their garlicky aroma wafting through the house like a warm hug. The moment I bit into one, the buttery crunch gave way to a soft, pillowy center, dusted with freshly grated Parmesan that melted in my mouth. It was pure bliss.
What makes my version of Garlic Parmesan Breadstick Twists extra special? It’s not just the perfect blend of garlic and Parmesan; it’s the love and memories infused in every twist. I’ve added a hint of Italian seasoning to elevate the flavors, making each bite a delightful journey. The breadsticks are beautifully twisted, creating that inviting spiral that’s not only pleasing to the eye but also ensures every inch is coated in buttery goodness. Plus, I’ve perfected the baking time so they’re crispy on the outside yet soft and chewy on the inside.
So, if you’re ready to bring a little piece of nostalgia into your kitchen, let me show you exactly how to make these delightful Garlic Parmesan Breadstick Twists. You won’t regret it!
Why You’ll Love This Recipe
- These Garlic Parmesan Breadstick Twists are irresistibly fluffy on the inside with a slight crunch on the outside, delivering a delightful texture in every bite.
- Ready in just 30 minutes from start to finish, making them a quick and easy addition to any meal or perfect for snacking.
- Budget-friendly with minimal ingredients, you can whip up a batch without breaking the bank, perfect for family dinners or gatherings.
- The rich flavor of garlic combined with the sharpness of freshly grated Parmesan creates a mouthwatering experience that pairs beautifully with a variety of dishes.
- Versatile enough to enjoy on their own, but they also serve as an excellent accompaniment to soups, salads, or pasta dishes.
Ingredients
- 2 ¼ teaspoons (1 packet) active dry yeast
- 1 cup warm water (110°F/43°C)
- 2 tablespoons granulated sugar
- 2 tablespoons olive oil
- 3 cups all-purpose flour
- 1 teaspoon salt
- 4 tablespoons unsalted butter, melted
- 4 cloves garlic, minced (or 1 teaspoon garlic powder)
- 1 teaspoon dried Italian herbs (optional)
- ½ teaspoon salt
- ½ cup freshly grated Parmesan cheese
- 1 tablespoon chopped fresh parsley (for garnish, optional)
Let’s break down some key ingredients in this recipe. The active dry yeast is essential for the dough’s rise, creating that fluffy interior we all love. Be sure to check the expiration date on the packet for the best results. If you can’t find active dry yeast, you can substitute it with instant yeast—just use the same amount and skip the proofing step. The all-purpose flour provides structure; for a lighter texture, you could use bread flour, which has a higher protein content. Additionally, the unsalted butter in the garlic topping offers richness and helps to carry the flavors of the minced garlic. If you prefer a dairy-free option, you can use vegan butter as a substitute. Lastly, always opt for freshly grated Parmesan cheese instead of pre-grated; the fresh cheese melts better and has a more robust flavor.
Step-by-Step Instructions
- In a small bowl, combine the warm water (110°F/43°C) and sugar. Sprinkle the yeast over the top and let it sit for about 5-10 minutes until it becomes frothy. This indicates that the yeast is active. Avoid using water that’s too hot as it can kill the yeast.
- In a large mixing bowl, combine the flour and salt. Make a well in the center and add the frothy yeast mixture along with the olive oil. Stir until a shaggy dough begins to form.
- Transfer the dough to a lightly floured surface and knead for about 5-7 minutes until it is smooth and elastic. The dough should spring back when poked; if it feels too sticky, sprinkle a little more flour as needed.
- Place the kneaded dough in a lightly greased bowl, cover it with a clean towel, and let it rise in a warm place for about 30 minutes, or until it has doubled in size. Look for the dough to be puffy and to have expanded significantly.
- Preheat your oven to 400°F (200°C). Once the dough has risen, punch it down gently to release the air, then transfer it back to the floured surface.
- Roll the dough into a rectangle, approximately 12×8 inches. Cut the dough into strips about 1 inch wide using a sharp knife or pizza cutter.
- Take each strip, twist it gently, and place it on a parchment-lined baking sheet. Make sure to space them out evenly to allow for expansion.
- In a small bowl, mix together the melted butter, minced garlic, dried Italian herbs (if using), and salt. Brush this mixture generously over the twisted breadsticks before baking.
- Bake in the preheated oven for 12-15 minutes, or until the breadsticks are golden brown. Keep an eye on them; they can quickly go from golden to overly browned if left unattended.
- Once baked, remove from the oven and immediately sprinkle with grated Parmesan cheese. You can also garnish with fresh parsley if desired. Allow them to cool slightly before enjoying!
Pro Tips for the Best Garlic Parmesan Breadstick Twists
- One common mistake is over-kneading the dough; it should be smooth but not tough. Aim for a balance to achieve that fluffy texture.
- Using a stand mixer with a dough hook can save time and effort when kneading, ensuring you achieve the perfect dough consistency.
- For an extra layer of flavor, try adding a pinch of red pepper flakes to the garlic butter mixture for a bit of heat.
- Ensure your yeast is fresh and active; if the mixture doesn’t foam after 10 minutes, it’s best to start over with new yeast.
- Adjust the amount of garlic according to your taste preference; if you love garlic, don’t hesitate to add an extra clove or two!
Variations & Serving Ideas
For a twist on the original recipe, try adding different seasonings to the dough like rosemary or even shredded mozzarella for extra cheesiness. For a seasonal variation, consider incorporating pumpkin puree into the dough during fall for a subtly sweet flavor. You can also make a cheesy version by stuffing the breadsticks with a cheese filling before twisting them.
These Garlic Parmesan Breadstick Twists are fantastic served alongside marinara sauce for dipping, which complements the garlic flavor beautifully. They also pair well with a hearty soup like minestrone or a fresh Caesar salad, enhancing the meal with their savory crunch. For a fun snack, enjoy them with a creamy spinach dip for a delightful appetizer experience.
Storage, Make-Ahead & Reheating
Store any leftover Garlic Parmesan Breadstick Twists in an airtight container in the fridge for up to 3 days. For longer storage, these breadsticks freeze well; simply wrap them tightly in plastic wrap and foil, then place them in a freezer bag for up to 3 months. To reheat, place them in a preheated oven at 350°F (175°C) for about 10-12 minutes until warmed through and crispy again. They actually taste even better the next day as the flavors have time to meld!
Frequently Asked Questions
Can I make Garlic Parmesan Breadstick Twists ahead of time?
Yes — in fact, they can be prepared in advance! You can make the dough, shape the twists, and refrigerate them for up to 24 hours before baking. Just remember to let them come to room temperature before baking for best results.
What can I use instead of active dry yeast?
If you don’t have active dry yeast on hand, instant yeast is a great substitute. You can use the same amount (2 ¼ teaspoons) without needing to proof it first, making the process even quicker!
Can I use whole wheat flour in this recipe?
Absolutely, you can substitute up to half of the all-purpose flour with whole wheat flour. This will add a nuttier flavor and slightly denser texture to your breadsticks, making them a bit healthier!
What’s the best way to reheat leftover breadsticks?
The best way to reheat leftover Garlic Parmesan Breadstick Twists is in the oven. Set it to 350°F (175°C) and heat them for about 10-12 minutes until they’re warm and the crust is crispy again.
Can I add other toppings to the breadsticks?
Yes! Feel free to get creative with toppings. You can sprinkle them with everything bagel seasoning, garlic powder, or even a drizzle of honey for a sweet and savory twist. The possibilities are endless!
Final Thoughts
These Garlic Parmesan Breadstick Twists are not just a side dish; they’re a deliciously satisfying treat that elevates any meal. The buttery, garlicky flavor combined with the nutty Parmesan creates a comforting experience that keeps you reaching for more.
This is the kind of recipe I come back to again and again, especially when I’m hosting friends or simply indulging in a cozy night in. There’s something so delightful about pulling apart those warm, twisted breadsticks fresh from the oven. I encourage you to try making them yourself! Don’t hesitate to add your own twist, whether it’s a sprinkle of herbs or a dash of spice. And please, share your delicious results—I can’t wait to see how you make this recipe your own!

Garlic Parmesan Breadstick Twists
- Total Time: 30 minutes
- Yield: 12 breadsticks 1x
Description
These Garlic Parmesan Breadstick Twists are a delightful combination of fluffy texture and rich flavor. Perfect for snacking or as a side dish, they are sure to impress at any meal.
Ingredients
- 2 ¼ teaspoons (1 packet) active dry yeast
- 1 cup warm water (110°F/43°C)
- 2 tablespoons granulated sugar
- 2 tablespoons olive oil
- 3 cups all-purpose flour
- 1 teaspoon salt
- 4 tablespoons unsalted butter, melted
- 4 cloves garlic, minced (or 1 teaspoon garlic powder)
- 1 teaspoon dried Italian herbs (optional)
- ½ teaspoon salt
- ½ cup freshly grated Parmesan cheese
- 1 tablespoon chopped fresh parsley (for garnish, optional)
Instructions
- In a small bowl, combine the warm water (110°F/43°C) and sugar. Sprinkle the yeast over the top and let it sit for about 5-10 minutes until it becomes frothy. This indicates that the yeast is active. Avoid using water that's too hot as it can kill the yeast.
- In a large mixing bowl, combine the flour and salt. Make a well in the center and add the frothy yeast mixture along with the olive oil. Stir until a shaggy dough begins to form.
- Transfer the dough to a lightly floured surface and knead for about 5-7 minutes until it is smooth and elastic. The dough should spring back when poked; if it feels too sticky, sprinkle a little more flour as needed.
- Place the kneaded dough in a lightly greased bowl, cover it with a clean towel, and let it rise in a warm place for about 30 minutes, or until it has doubled in size. Look for the dough to be puffy and to have expanded significantly.
- Preheat your oven to 400°F (200°C). Once the dough has risen, punch it down gently to release the air, then transfer it back to the floured surface.
- Roll the dough into a rectangle, approximately 12×8 inches. Cut the dough into strips about 1 inch wide using a sharp knife or pizza cutter.
- Take each strip, twist it gently, and place it on a parchment-lined baking sheet. Make sure to space them out evenly to allow for expansion.
- In a small bowl, mix together the melted butter, minced garlic, dried Italian herbs (if using), and salt. Brush this mixture generously over the twisted breadsticks before baking.
- Bake in the preheated oven for 12-15 minutes, or until the breadsticks are golden brown. Keep an eye on them; they can quickly go from golden to overly browned if left unattended.
- Once baked, remove from the oven and immediately sprinkle with grated Parmesan cheese. You can also garnish with fresh parsley if desired. Allow them to cool slightly before enjoying!
- Prep Time: 15 mins
- Cook Time: 15 mins
- Category: Appetizer
- Method: Baking
- Cuisine: Italian
Nutrition
- Serving Size: 1 breadstick
- Calories: 150
- Sugar: 1 g
- Sodium: 200 mg
- Fat: 7 g
- Saturated Fat: 4 g
- Unsaturated Fat: 2 g
- Trans Fat: 0 g
- Carbohydrates: 18 g
- Fiber: 1 g
- Protein: 4 g
- Cholesterol: 15 mg
Keywords: One common mistake is over-kneading the dough; it should be smooth but not tough. Ensure your yeast is fresh and active; if the mixture doesn’t foam after 10 minutes, it’s best to start over with new yeast.


Leave a Comment